
My first incursion into home brewing was a pumpkin beer…and it was an abysmal failure. Now usually you’ll hear advice to start simple when it comes to making your own beer. It’s very sound advice, advice that I actually suggest to people starting out. The reason is because you want to become familiar with the process and get a system of your own developed before you start adding in more intricate steps. However I don’t do simple, I dive right in usually. As a result my first pumpkin beer turned into vinegar. Lesson learned.
This being Fall I decided it was time to face my failures of the past and delve into making a pumpkin beer again. Of course I may never have decided to try again if it wasn’t for my friend The Duke asking me if I wanted to make one. I said, “yeah sure”. I’m a hard sell.
The genesis of this brew was that after the initial ok on going forward with the project, Duke calls me up and says he’s right next to the home brew supply shop and asks what to get. So I looked up my recipe that I quite like and he bought all the materials. Here they are.
- 7 pounds light dried malt extract
- 1 pound 40 L Crystal malt
- 2 pounds pale ale malt
- 1 whole pumpkin (10 – 15 lbs)
- 1 teaspoon ground cinnamon
- 1 teaspoon pumpkin pie spice
- 2 ounces fuggles (90 min)
- 1 ounces hallertauer (90 min)
- 1/2 ounce fuggles (5 min)
- 1/2 cup brown sugar mixed with 1 teaspoon cinnamon and 1 teaspoon pumpkin pie spece (for priming)
- Wyeast liquid ale yeast, in starter
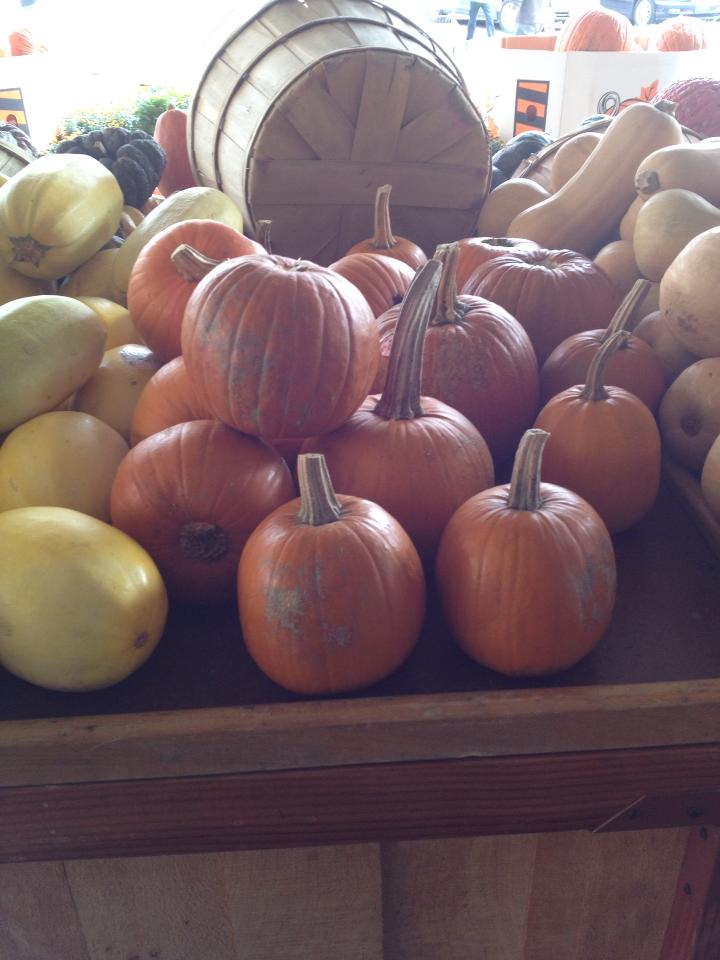
Couple notes on the ingredients, we didn’t use the wyeast liquid ale yeast but instead opted for dry ale yeast. It works fine so make your own choice on yeast. Also, since they didn’t have spices or pumpkins at the home brew shop, I picked them up at the store. It calls for 1 pumpkin, but I opted instead for 3 smaller pumpkins. I didn’t really feel like carving up a huge pumpkin and cutting up 3 smaller ones seemed like an easier prospect. Turns out it worked in my favor.
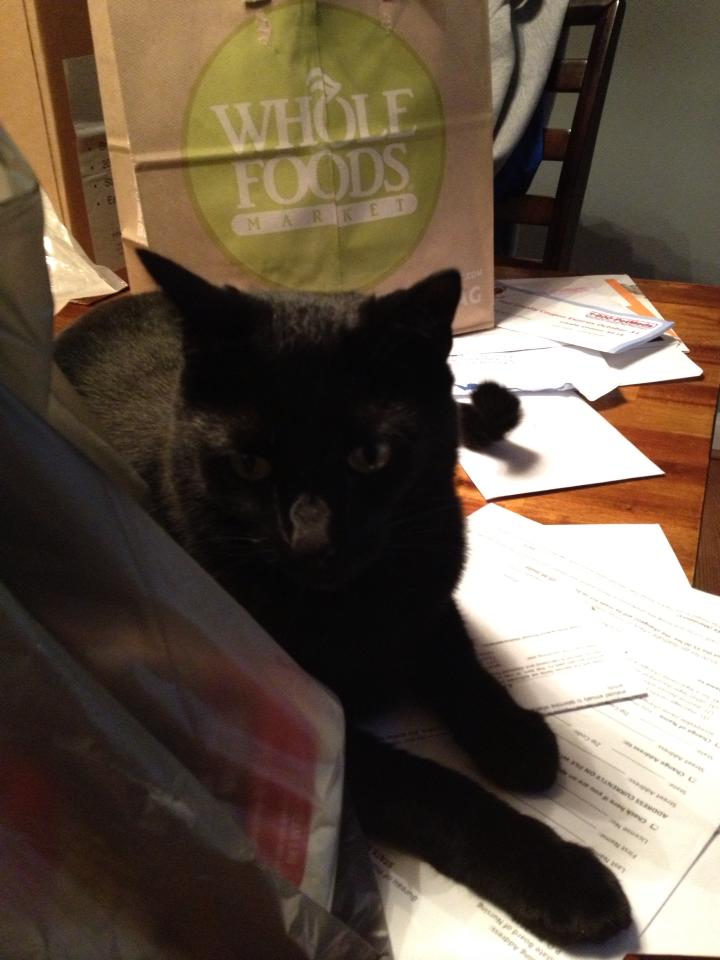
Before starting anything, it’s important to set the mood while making a pumpkin beer. Let’s face it, you can make pumpkin beer any time really, but it’s really an Autumn/Halloween tradition. Setting the mood while making your beer is crucial in my opinion to having success with your beer. It just imparts the intangibles which are vital to a great tasting beer. With that said, Apollo the cat made his way to the table to oversee the process.
First step is cleaning the pumpkins and cutting them up into small pieces. Sprinkle a bit of spices on top of the pumpkin to impart a tad more spiciness to your brew. Place the pumpkin parts on a cookie sheet and prepare to put it in the oven. This is what it should look like.
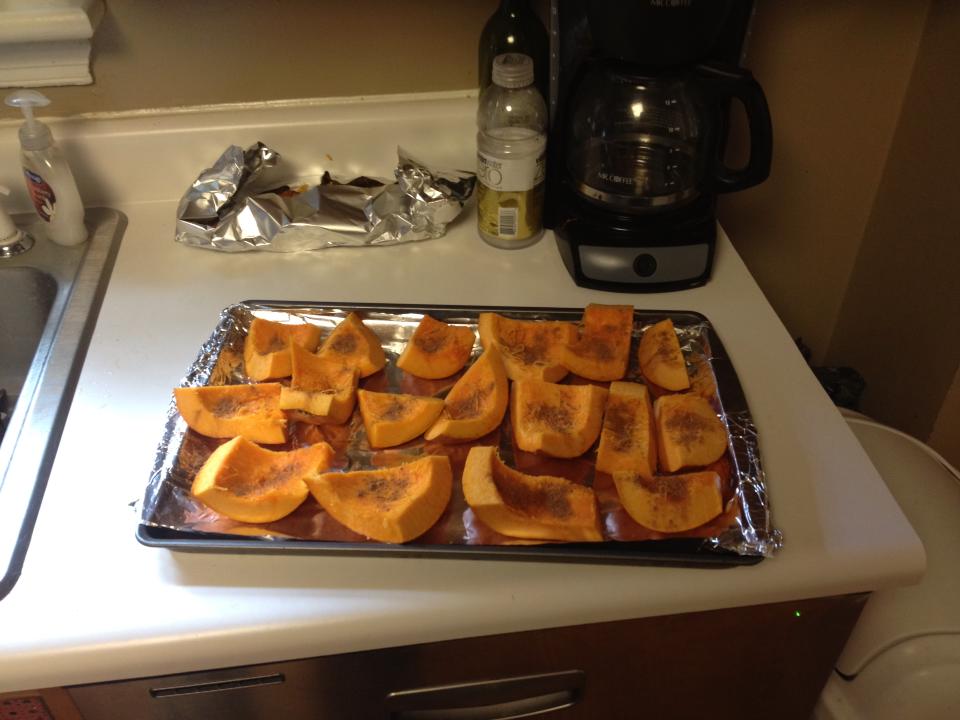
Preheat your oven to 350 degrees. Once preheated, place your cookie sheets with pumpkin on them in the oven and bake for 45 minutes.
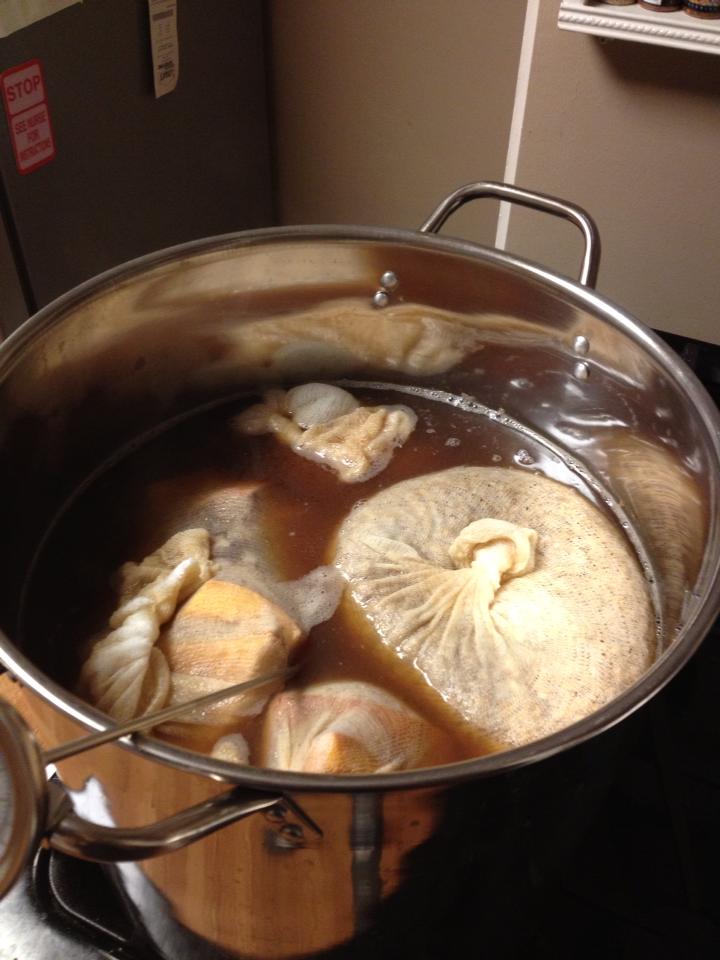
After your pumpkin is done baking take it out of the oven and let it cool a bit. Place the pumpkin into steeping bags or cheese cloth. Place your grains in your steeping bags as well. Get a large pot and pour 2 and 1/2 gallons of water into it. Bring the temperature up to about 156. Place the bags of pumpkin and grain into the pot and let steep for 1 hour at 156 degrees. If the temperature starts to rise past this turn the heat down a little. The reason for this is that if you start going past 160-170 degrees, tannins will be released for your grain which imparts an unpleasant bitter taste to your beer. You don’t want that.
Ok after the hour is over remove the pumpkin and the grain bags from the pot. Now there is somewhat of a controversy over whether or not it’s a good thing to squeeze grain bags after you lift them from the pot to get more of the juice out of them. Some think this will also release tannins from your grain, while others think it’s harmless or has minimal effect. From everything I’ve read the biggest contributors to releasing tannins are too high a temperature and the ph of your brew. I used spring water bought from the store and kept the temperature within the correct range, so I didn’t worry about giving the grain bags a little squeeze to get the juice to come out. However if you are worried about it, just hold the bag up and let the water drain from it the best you can.
Now, bring your wort to boil. Pour in your light dry malt extract, 2 oz fuggles, 1 oz hallertauer, 1 tsp of ground cinnamon, and 1 tsp of pumpkin pie spice. Stir this mixture up so as to not allow the malt to scorch on the bottom of the pot. Word of caution here, watch the pot because sometimes the pot will start to boil over. If you see this happening turn the heat down until the wort subsides. Leave the pot boiling for 1 hour. At the 55 minute mark, throw in your 1/2 oz of fuggles that are left.
After an hour take your pot off the burner. Get your sanitized fermenter ready to go. Cool your wort down to appropriate temperature for pitching your yeast. This is usually around 70 degrees Fahrenheit. Now as far as how you want to cool your wort you have a couple options. You could use a wort chiller of course which is very handy, however I don’t have one myself, so I use bags of ice. I take 2 very large ziplock bags, fill them with water, and throw them in the freezer the night before. I then take the 2 bags and submerge them in the wort. This is actually very effective. If using the ziplock bag method I’ll stick the bags in the pot. When it’s cooled down to the right temperature, go ahead and pour the wort into your fermenting vessel.
Now fill the fermenter up to five gallons by filling it with whatever water source you are using. I used spring water from the store. Make sure to stir slightly the new water with the wort to make sure everything is mixed together well. When everything is all mixed together in your fermenter go ahead and pitch your yeast!
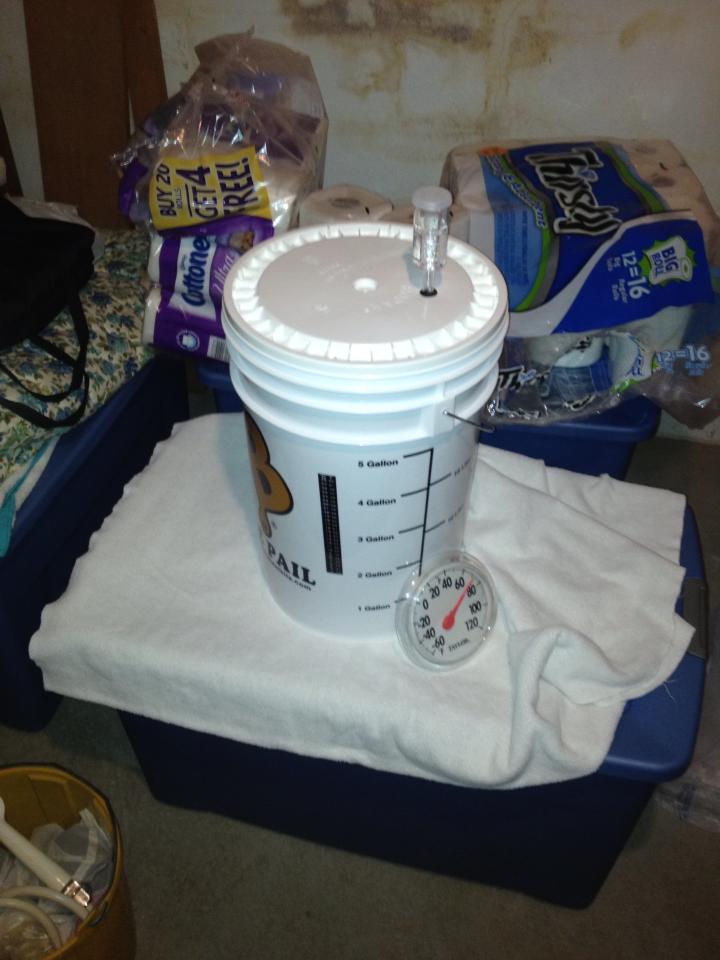
Place an airlock on your fermenter and store in a room that is around 70 degrees Fahrenheit. Bubbling activity should start to get going after a few hours. This is what mine looked like.
After about a week your airlock activity should be slowing down. Siphon your beer from your primary fermentation vessel to a secondary glass carboy. Make sure when siphoning to keep all the dead yeast and sludge at the bottom of the bucket in the bucket. You don’t want that stuff transferring over. Leave it sit for about 2 weeks in the secondary vessel. After about 2 weeks, it’s time to bottle.
Take a 1/2 cup of brown sugar mixed with a teaspoon of cinnamon and a teaspoon of pumpkin pie spice and boil it in 2 cups of water for 10 minutes. Allow this mixture to cool. Now pour this mixture once cooled into your bottling bucket. Now take your beer and siphon it from the secondary on top of this mix in your bottling bucket. With your racking cane, swirl the mixture around lightly a few times to ensure the priming solution is well integrated into your beer.
Make sure to sanitize all your beer bottles and make a line of them for bottling. What I like to do is attach a small piece of tubing to the faucet on the bottling bucket and attach a bottling wand to it. A bottling wand makes filling beer bottles quite easy. All you do is push on the bottom and the beer comes out, and when you stop pushing, the beer stops coming out. Easy!

Once you have your bottles filled up, start putting bottle caps on them. When this is done place the bottles back in the box they came in or any box you can find. Store them in a dark place so no sunlight hits the beer. Let the bottles condition and they will be carbonated within 2-3 weeks of bottling.

Feel free to play around with the ingredients a bit. More or less spice as desired. Different hop varieties or a darker malt. It’s your beer, who’s better than you?
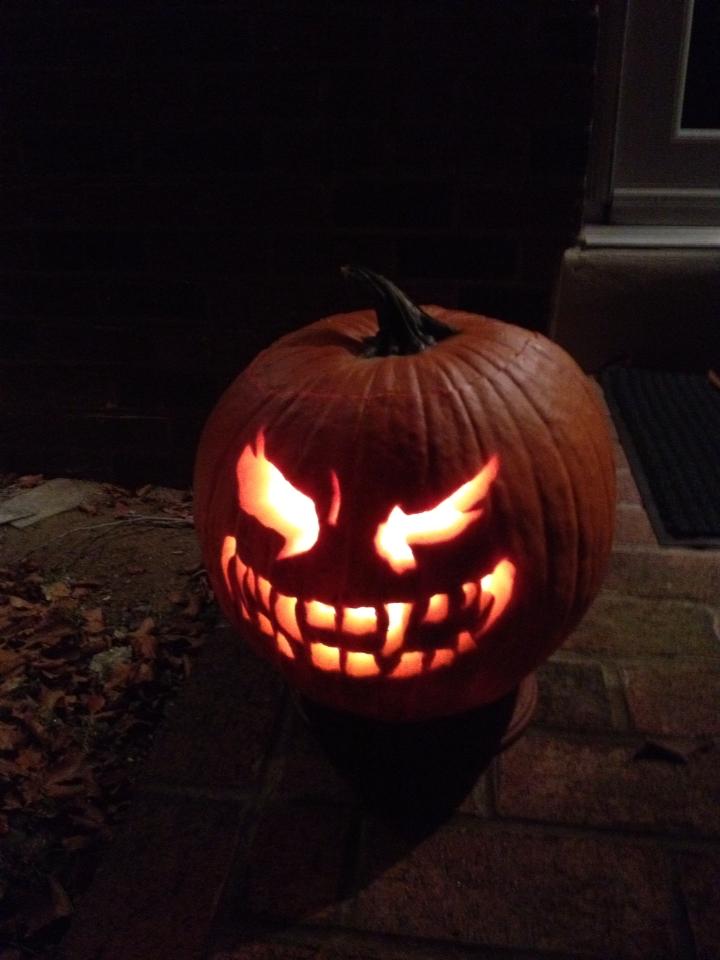
Now all you have to do is kick back, and enjoy some great pumpkin beers on a crisp Autumn night knowing full well that you have created greatness! By all means, if you are handing out candy to kids this Halloween, why not give some parents a try of your new brew? Enjoy!
Check me out on Twitter
Follow @vikingsmashbrew