
What if I told you that you could head to your local supermarket right now and assemble the ingredients in order to make yourself a good mead? You could be making mead tonight, and all it would take is a small little trip to your local market.
Grocery store mead is simply mead made exclusively from items found at your local supermarket. For a grocery store mead we’re getting down to basics and only using items that we can scavenge on the isles.

Why Mead from a Grocery Store?
There’s a couple reasons why you would want to make a grocery store mead. For one thing, you might not have access to homebrewing equipment. Maybe there aren’t any home brew stores around you so you can’t buy a kit. Or maybe you don’t feel like waiting for your online order to come in. Either way, grocery store mead provides a fast solution in order to get your mead making fix immediately.
Another reason you would want to make grocery store mead is maybe you’re on the fence about this whole mead thing and you want to dip your toes into the water before going all out and spending money on a setup. Doing mead this way will definitely be the easiest solution you could have before getting serious about it.
Finally, maybe you want to go a little old school and use one of those old recipes that aren’t as complicated as the modern recipes. You have the time and patience to let it sit until it’s complete, you just want to get started right away.
Ultimately, the purpose of this mead is to provide you with the fastest, easiest method to start making mead immediately with minimal investment up front.
It really blows me away to think about the fact that during high school I was making all sorts of secret plans and operations in order to get beer to drink at parties when all I really had to do was start making my own grocery store mead. Reminder: if you’re under age, possibly in high school, don’t take this recipe and make yourself a huge batch. It’s simply illegal.

Ingredients
The beautiful thing about the grocery store is they have a lot of stuff that happens to coincide with making mead. You’re thinking, “But Tate, I don’t have any fancy home brewing equipment, how will I make this work?” While it may be true that it’s a good idea to buy home brewing equipment if you decide to make this a hobby, it’s not essential for making mead. You’ll have to make some concessions here and there, but they aren’t too big. You’ll also have to improvise with a few things, but I assure you this is very possible.
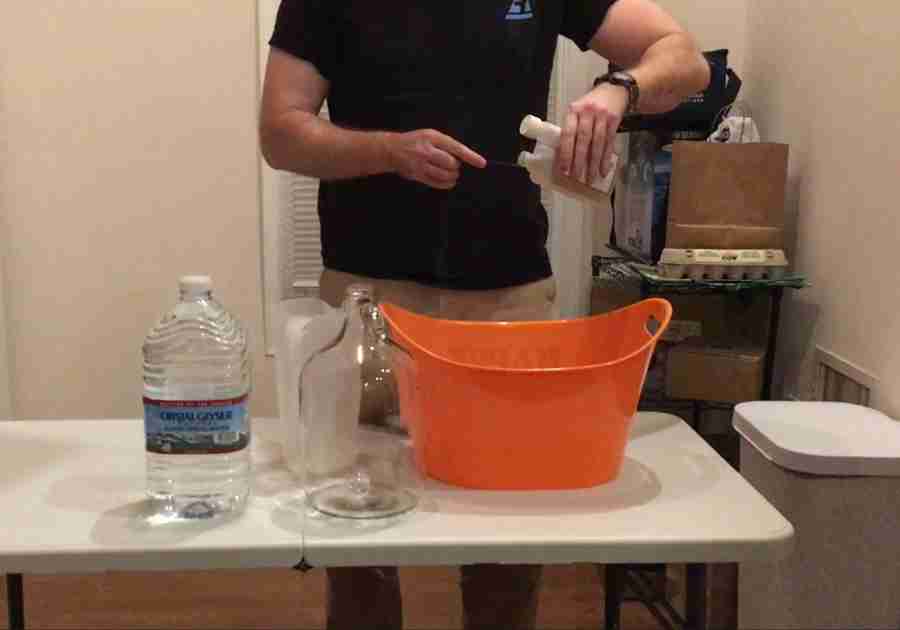
What you will have to get for your grocery store mead:
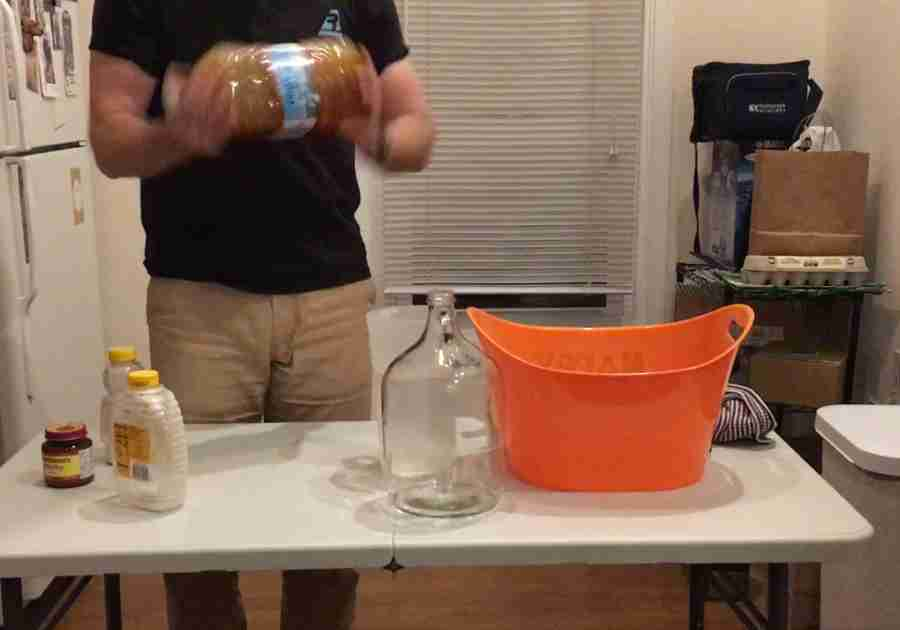
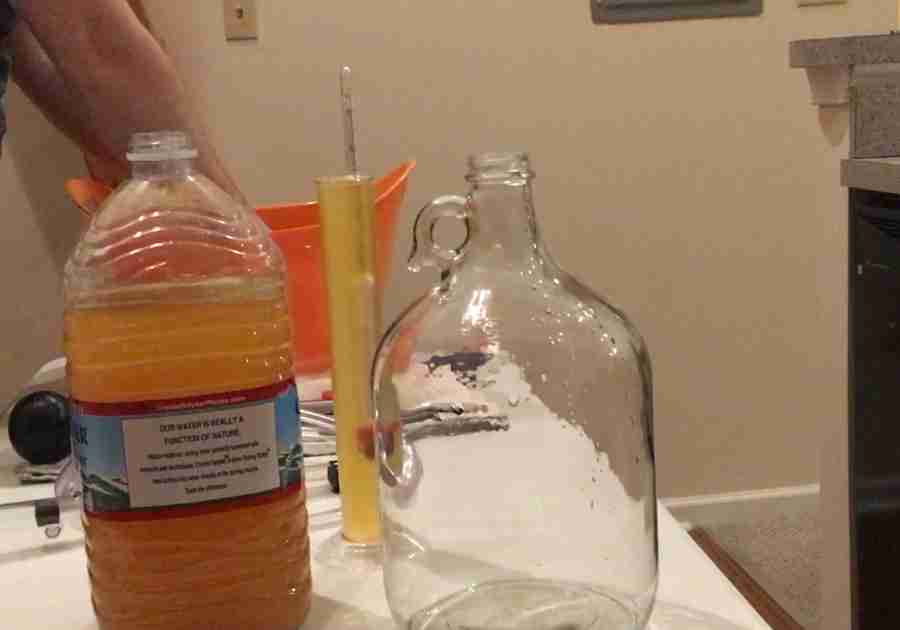
- -Container/water (1 gallon)
- -Honey (3 lbs)
- -Yeast (1 packet or 1 jar of Fleichman’s Bread Yeast)
- -Pitcher
Water
We’ll be using a 1 gallon jug of water for our primary fermentation vessel. The actual plastic jug that the water comes in is what I’m talking about. It’s not ideal for long term fermentation but for our purposes it will work just fine.
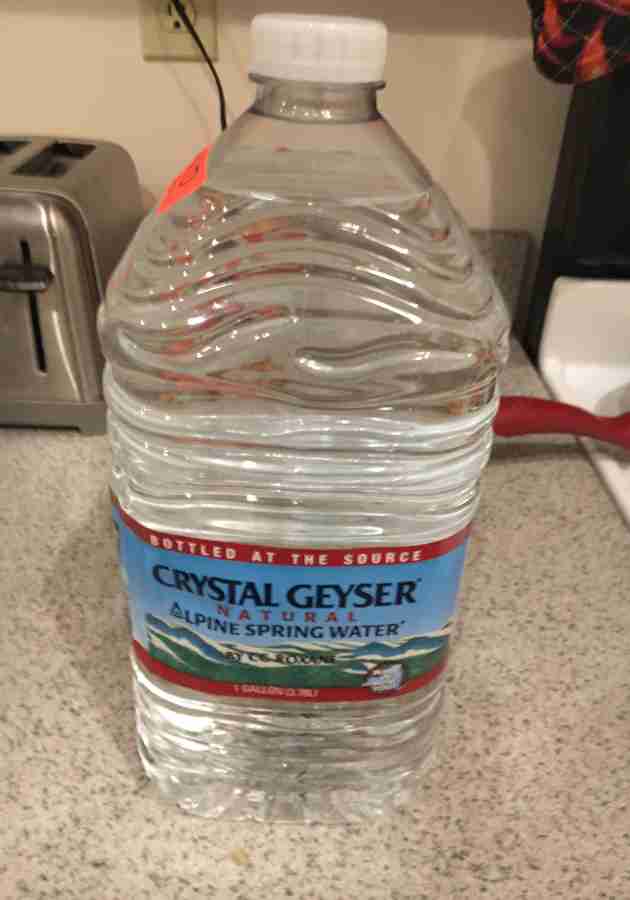
Now, it’s important to get the right kind of water jug. First off you want to make sure it’s actually a gallon as I’ve seen some recently that are a little less than a gallon. Secondly you want to try to get one with a screw cap. Some of the water jugs come in a milk type jug with a small plastic cap that snaps on and off. You can use them, but you’ll need a balloon and possibly a rubber band to secure it. If you use the one with the screw cap, you don’t need the balloon.
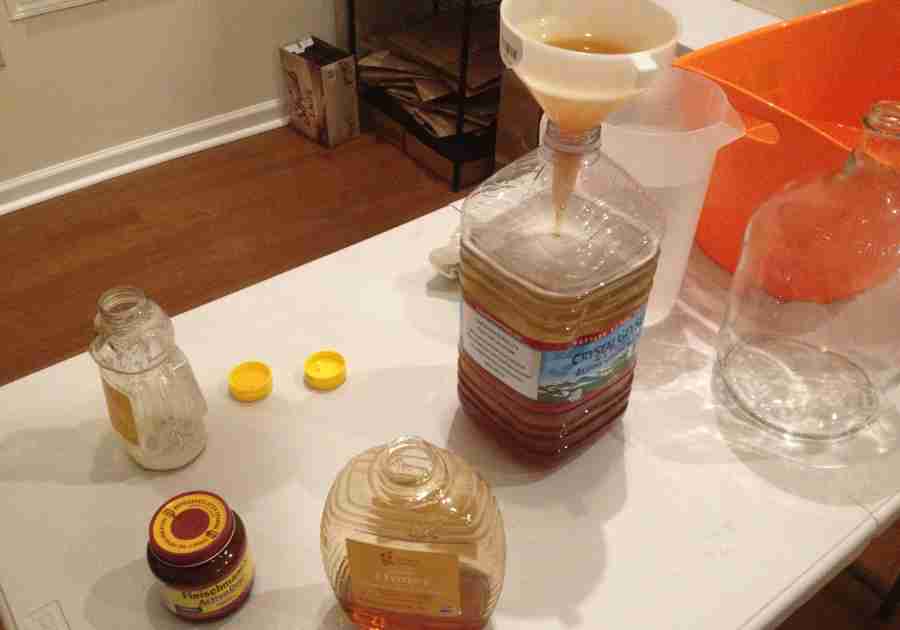
Honey
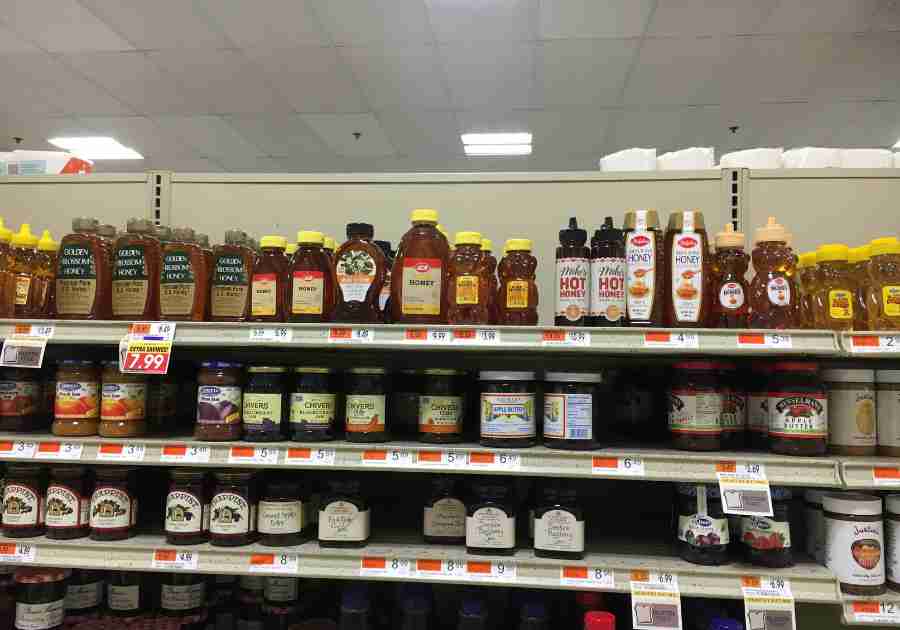
A lot of the time at the supermarket, your options are limited by whatever national brands of honey they have. Just do your best and find 3 pounds of honey that looks good. Ideally they will have some kind of local honey. The more local the better.
Yeast
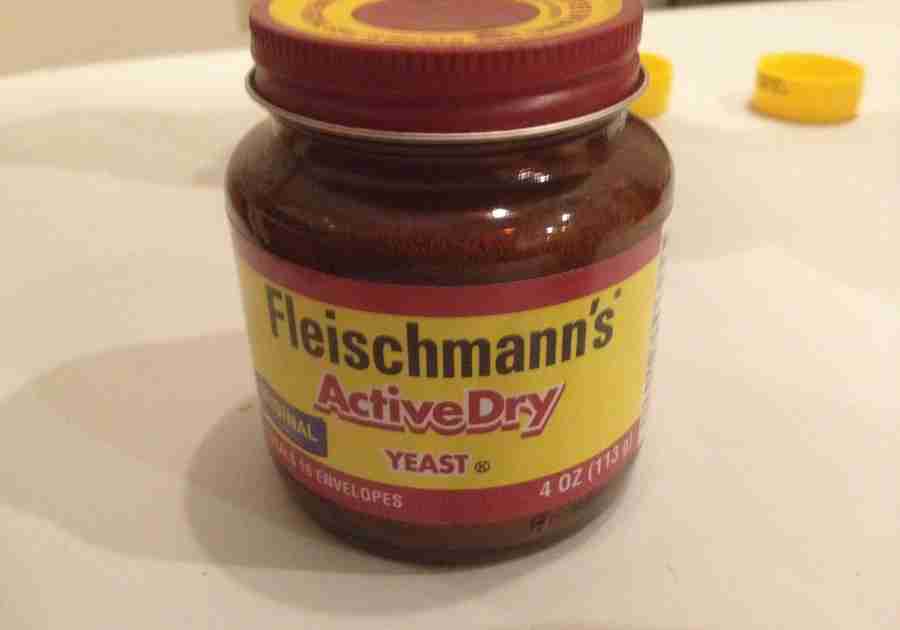
For our yeast we’ll be using Fleichman’s Active Dry yeast. These can be found in the bread aisle usually and come in either packets or a jar. Either will work fine. Make sure you get the red Fleichman’s Active Dry though as it works the best.
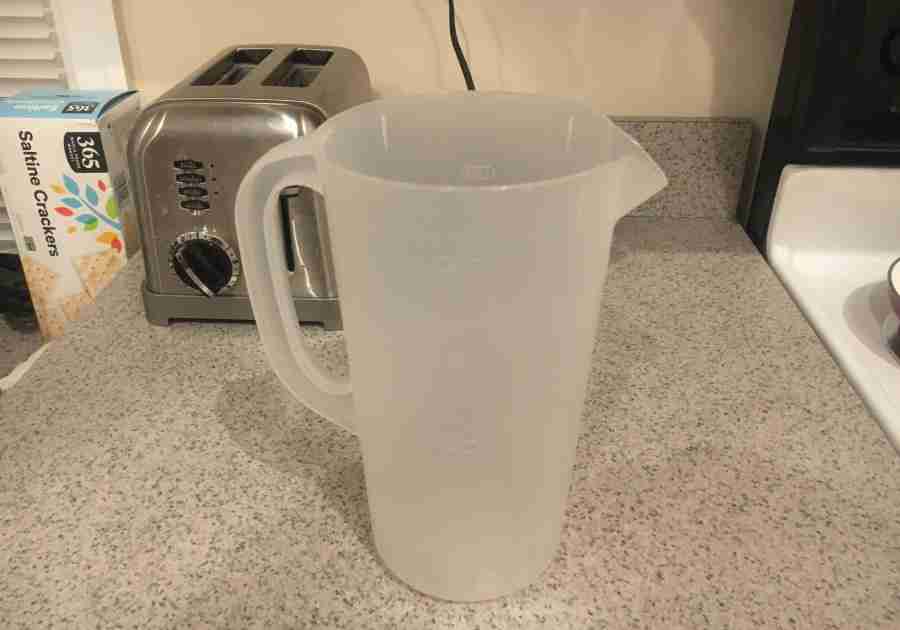
Pitcher
Any old pitcher will suffice here. Just grab one and have it ready to go.
Optional items:
- -sanitizing solution
- -balloon and rubber bands
- -some type of bottle to use
- -some type of growler or mason jar
- -yeast nutrients
- -hydrometer
As you can see, you could go with an absolute bare bones setup here and still make mead. The question becomes what do you want to do with bottling. I’m not sure of any supermarket that has beer or wine bottles so if you don’t want to get them, consider using a used liquor bottle.
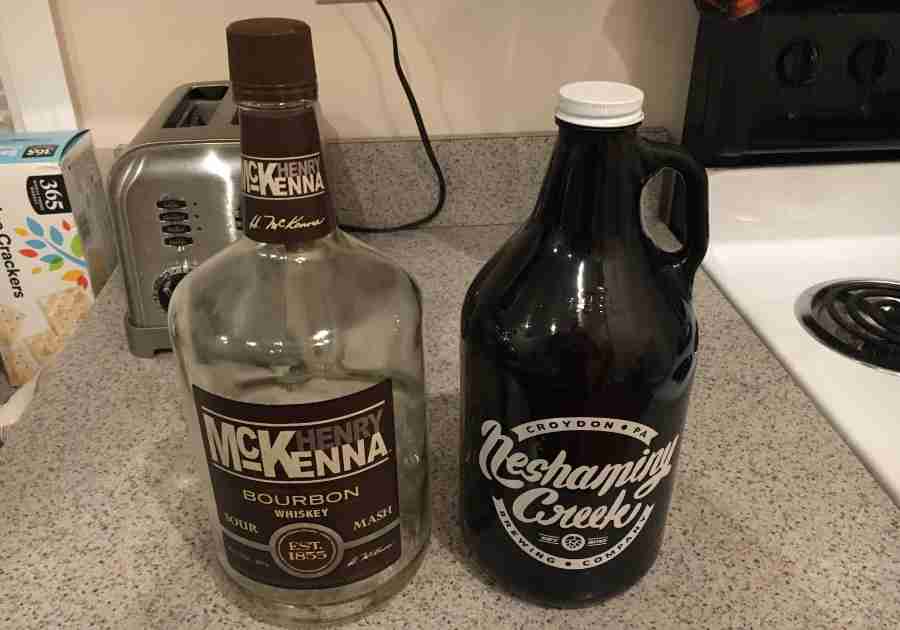
Some liquor bottles have screw tops while others have those reusable cork tops that I think are ideal for this situation. Another alternative you could try out is using mason jars or a growler of some type. Some targets or walmarts might actually have growlers so it might be worth a shot.
Instructions
The first step is to make sure that everything you have is sanitized. In this case because we won’t be using as much equipment right at the beginning it won’t matter as much but I’d still recommend sanitizing the threads of the 1 gallon jug. You’re also going to need to sanitize the pitcher. If you have some home brewing sanitizing solution, use that. If you don’t have solution just try and wash the area really well and you should be fine.
While this is going on, I find it’s useful to have your honey sitting in some warm water to make it more liquid. You want it more liquid because it’s easier to pour and you don’t have to mess with it as much when you want to shake the honey out of it.
Pour about half of the water out of your gallon jug into your pitcher in order to give yourself room to work with.
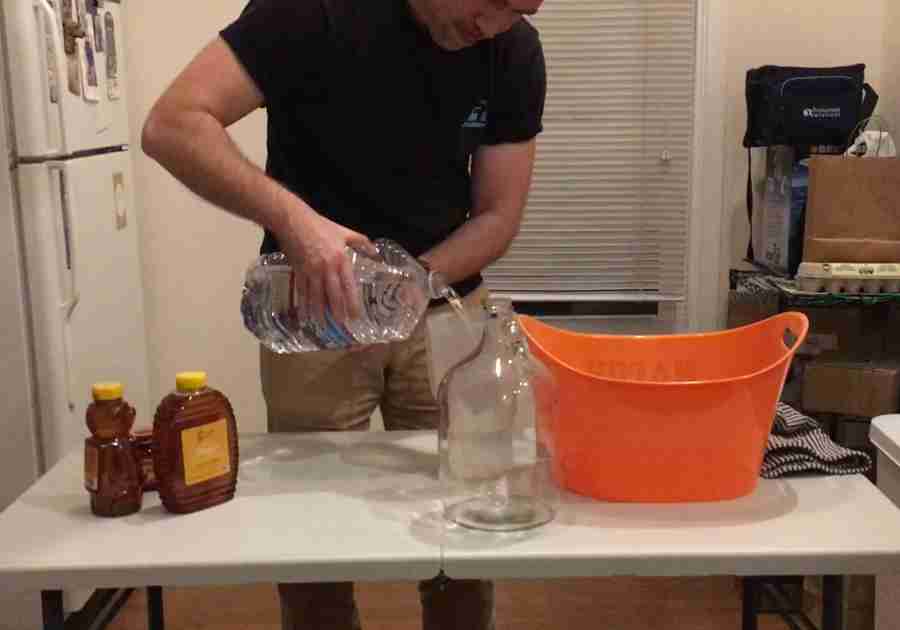
Take your 3 pounds of honey and pour it into your gallon jug.
Mix the honey and water together by stirring it with a large spoon or by putting the cap back on and shaking the hell out of it. I would suggest shaking it for at least 2 minutes in order to fully mix it and oxygenate it.
Pour the water from your pitcher back into your gallon container until it’s almost to the top of the gallon jug. You want to leave enough room at the top so that it doesn’t flow out while fermenting, but still close enough to the top so you’re maximizing your amount of mead. If it’s too close to the top it could start coming out of the top and make a mess so try to have it right before the bottle starts tapering up into the neck.
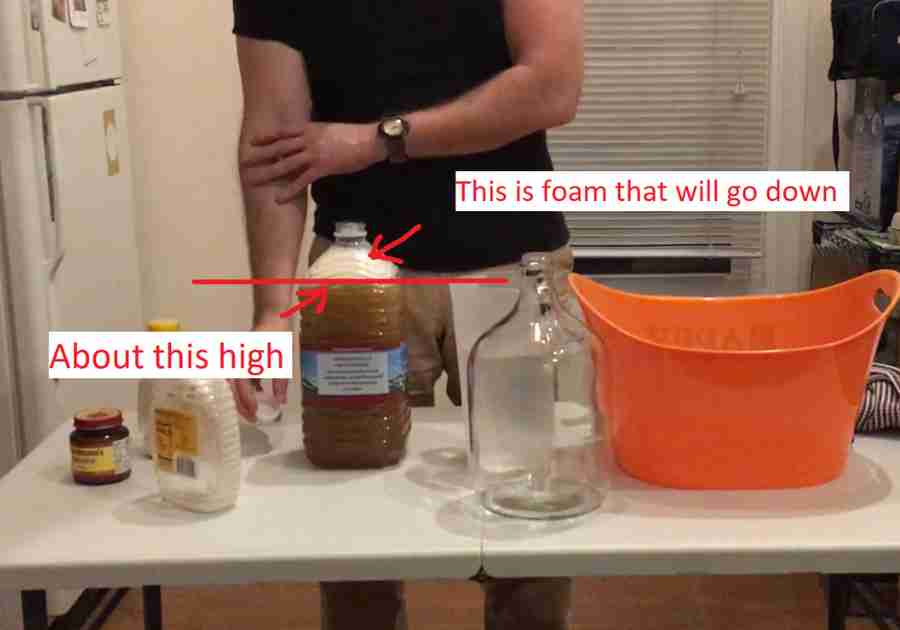
Shake the bottle again to mix the honey water with the water you just put in.
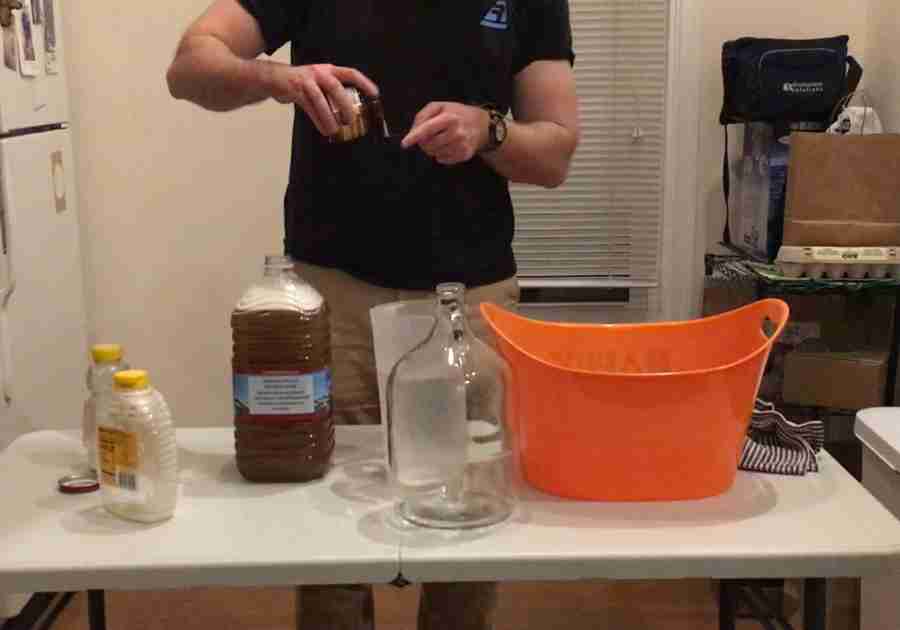
IF you have a hydrometer, which you might not if you’re doing this with just grocery store items, but if you do, now would be the time to take your initial gravity reading. My initial gravity on this was 1.130.
Take about a teaspoon of your yeast out of the container and scoop it into your gallon jug.
Now, take the lid of your 1 gallon jug and unscrew it about 180 degrees so that it’s still connected to the jug but not snug. This will allow the co2 to easily escape but will still be a serviceable barrier to not let oxygen and any other things into it.

Place your 1 gallon jug somewhere that is preferably dark and room temperature to ferment. Let it sit for a month to ensure that it has fermented everything.
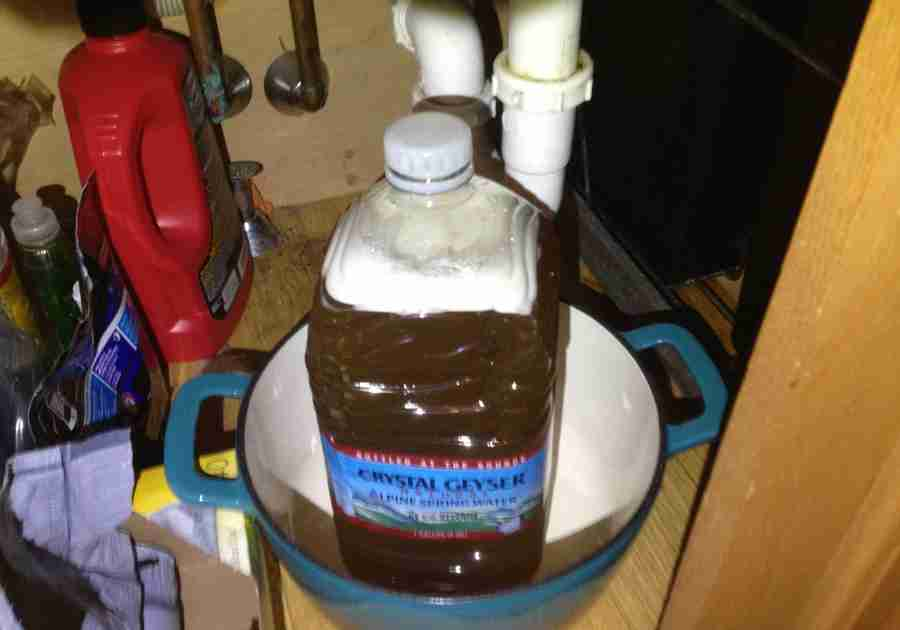
Important: While your mead is fermenting, it will be producing c02 gas. With the cap half on method, you will have to release the gas every day. Just unscrew the cap a slight amount and you’ll hear and feel the gas escape. Once it rushes out, just slightly tighten the cap again. Do this twice a day for the first week as the gas will build up fast in the beginning.
Let your mead sit for 2 months to ensure that fermentation has completed. I ended up taking hydrometer readings at 3 weeks, 6 weeks, and 9 weeks. At 3 weeks it was at 1.070 so I felt it could go longer. At 6 weeks it was 1.062. Then at 9 weeks it was at 1.062 still so I knew it was done. This mead stopped at about 9% abv. If you want a stronger batch next time, swap the bread yeast for one of the best yeasts for high-alcohol mead. Without nutrients and using bread yeast, it might not get much higher than that.
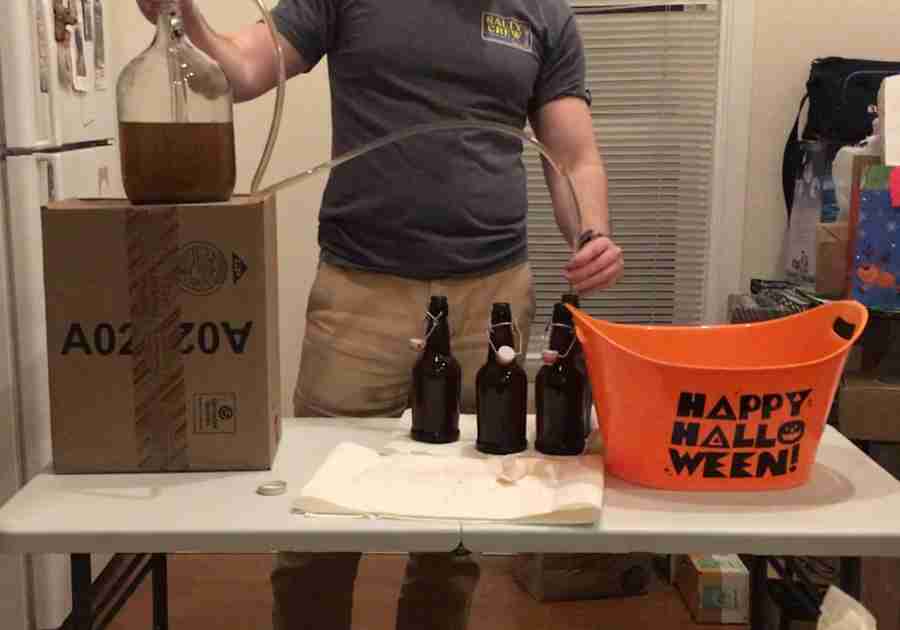
Gently pour the mead out of the gallon jug into your pitcher with a spout. This makes it easier to pour from your pitcher into some of the bottles you are going to use. Make sure to pour extremely slowly and gently ensuring not to have any splashing going on as you don’t want to introduce any oxygen into the solution at all.
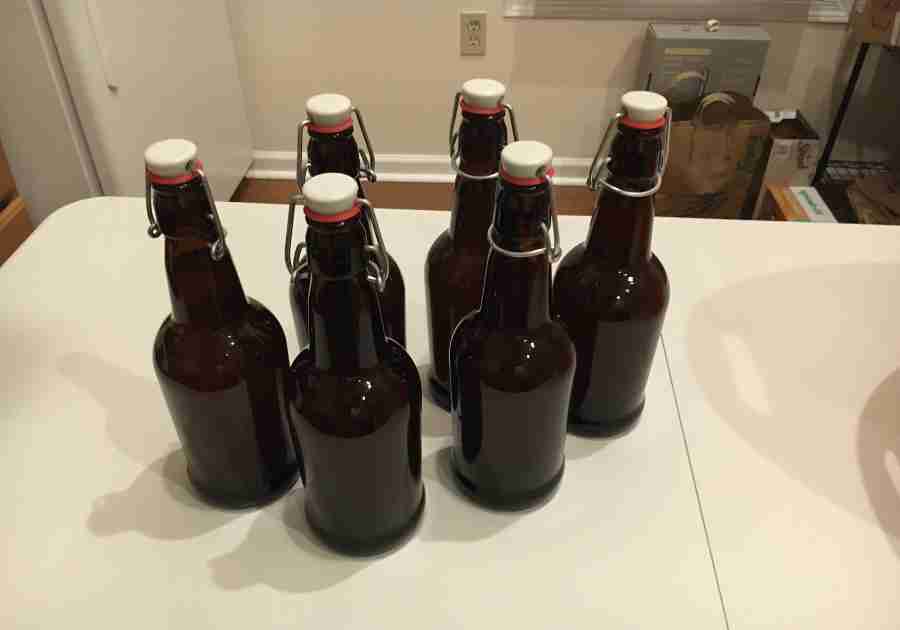
Once they are in the bottles, let them age for a few months before drinking. I put my mead into the “swing top” style of bottles. They are each 500 ml or 16.9 oz, so slightly less than a wine bottle. I was able to get 6 full bottles out of this gallon.
How to make slight improvements
The instructions above are for someone that doesn’t have any kind of home brewing equipment, but if you wanted to enhance your brew slightly, there’s a few things I’d recommend. Note: in order to do the following you’ll need some extra supplies.
Getting an alcohol percentage reading
After you put the honey into the water jug, mix everything up, and pour the rest of the water up to the top of the jug, you’re going to want to take a reading here. This will require you to have a hydrometer. I highly recommend this as it will give you an accurate reading as to how alcoholic your final brew will be. It will also ensure that your mead is actually done fermenting. If you don’t have a hydrometer, you’ll basically have to just guess. There’s calculators out there that will let you get by, but you’ll never know for sure.
Auto siphoning
If you have an auto siphon, you should siphon your mead from your 1 gallon jug into your bottles or even a secondary if you want to age it. This will ensure that there’s as little oxygenation as possible. I highly recommend taking this extra step.
Secondary
If you have a 1 gallon glass carboy, you could transfer your mead to it in order to bulk age it. This isn’t necessary but would be a good way to get your mead clear before bottling it. Again, completely unnecessary but an option.
Some other options
We’re starting to get beyond the scope of a grocery store mead here with some of this stuff but if you wanted to you could do a few other things. You could use a different strain of yeast and have a potentially better tasting final product. You could also take the time to bottle your mead in a traditional wine bottle with a cork to give it a little more presentation.
Another thing to try is back sweetening your mead if you want it a little sweeter. The easiest way to do this would be to add some honey after your mead is done fermenting and gently stirring it into your mead. It’s up to you.
Conclusion
Grocery store mead is meant to be an easy way to get making mead right away. Although it’s somewhat limited by the honey and yeast available at the grocery store, you can still make a very tasty mead!
Enjoy!