
Ever have a mead that you’re making that all of a sudden stops bubbling? You made sure that everything was correct and you pitched your yeast. A few days later, you aren’t noticing any bubbles and you’re wondering if it’s ruined. There’s a few reasons why this might happen, so let’s dive in and figure it out. The most common reasons mead stops or never starts bubbling are an air leak in the fermenter, CO2 trapped under a fruit cap, yeast pitched incorrectly, or a lack of nutrients — and bubbling on its own is not even a reliable sign of fermentation. If you are wondering how long bubbling should last in the first place, see our guide on how long mead should ferment and bubble.

If your mead isn’t bubbling, it could fall into a few categories why ranging from easy to fix to hard to fix. It could be that there is a leak somewhere, there could be a blockage in your fermenter, the fermentation didn’t start correctly, or something caused the fermentation to stop. A lot of these issues can be fixed after they happen but an ounce of prevention is worth a pound of cure.
As an Amazon Associate I earn from qualifying purchases.
Bubbles Not Sure Sign of Fermentation
Before you decide that everything is wrong in your fermentation just understand that the frequency of how many bubbles going through the airlock isn’t a sure sign of fermentation. The true test of whether or not you have fermentation going on is an accurate gravity reading. This is why it’s important to always take a gravity reading right before you initially pitch your yeast.
This has sometimes been a problem for me because I’m a klutz and have broken multiple hydrometers by dropping them. In this case, you can try and make an estimate of your original gravity using online calculators. You just need some kind of initial reading to measure against to really see whether or not you have fermentation going on
Fermenter Not Airtight
The first thing you should really check if you don’t see any bubbles coming out is whether or not your fermenter is airtight. This is usually a problem with the primary fermenters that are the plastic bucket style. What can happen is the seal on the bucket where the lid snaps in place isn’t tight enough and the gas can escape through there.
Believe it or not this actually happened to me on the first 5 gallon batch of mead I did. I was confused by the lack of bubbles and realized that the lid wasn’t completely snapped in. The bucket I was using was a really really tough lid and when I fully snapped it in, it was so tight that it almost hurt my fingers to pry it off again.
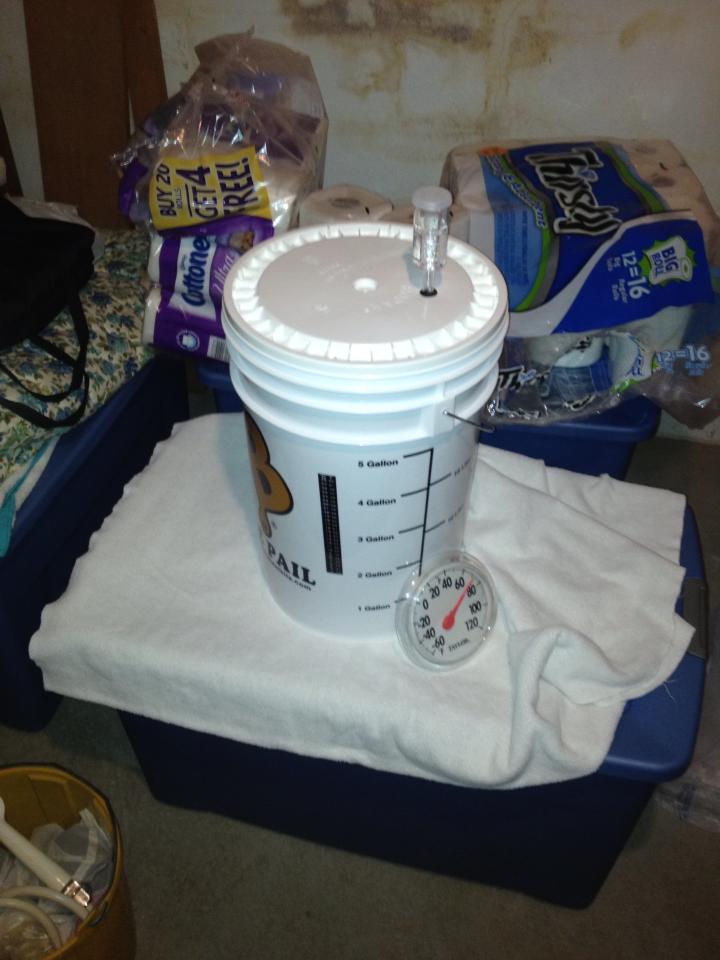
Another way that gas could be leaking is through the little grommet at the top of the bucket that is attached to the airlock. From what I’ve seen, these homebrewing buckets have a lack of quality control sometimes because the hole isn’t always making a perfect seal with the airlock. Sometimes the little washer could be corroded as well causing a lack of a seal. So make sure the airlock is nice and snug in that little hole. You might even have to push it down a bit further into the hole to make it line up snug. Gas could also be coming through the grommet in the top because the gas is pushing on the lid so much it’s causing it to swell making the hole slightly wider. Point is, just make sure everything is sealed up tight.
Fruit Blocking Release of Gas
Another way that the CO2 might not be coming out is that it’s blocked behind something in the fermenter, like fruit. When you’re fermenting something with fruit in the primary fermenter, the fruit rises to the top and causes a cap. This cap should be pushed down daily and aerated to let the CO2 to escape. If you don’t do this, the CO2 will obviously just sit under the cap and stay in your liquid.
Your liquid underneath will still be fermenting though so you shouldn’t be worried if you miss a day and forget to push the cap back down.
Proper Yeast Starting
When you have ruled out any air leaks or something blocking the air, you should think about how exactly you prepared your yeast before pitching it. In order to start fermentation right away, your yeast should be prepared correctly. If not, it can cause your yeast to ferment slowly or not at all.
Many times in the past, I have just taken the dried yeast out of the packet and sprinkled it on top of my must. This will work, but when doing so something like 60 percent of the cells die. This can obviously cause problems because if you don’t have the full amount of yeast available anything that could cause stalling becomes more prominent with a smaller amount of yeast cells available to do the work. Coupled with the fact that honey takes longer to ferment and you have a possible recipe for disaster.
How you should prepare your yeast in order to ensure proper fermentation:
- Make sure that everything is sanitized
- Pour a cup of boiled tap water (95-105 degrees Fahrenheit) into a glass
- Sprinkle your dry yeast from the package into your water.
- Cover the top and leave it be for 10 minutes or so
- Stir the jar with a spoon or just swirl it around by spinning it
- Leave it for another 10 minutes and then pitch it into your wort
To give your yeast an even bigger advantage, use Go-Ferm in your rehydration process. This will ensure you get the maximum amount of total yeast cells from your package. The more active yeast cells at the start, the quicker fermentation will take place, the quicker you’ll start seeing bubbles.
Preparing the Must
Another thing you should take into account when starting your fermentation is to take proper care of the must and make it ready to ferment. If you don’t take care of your must, you could find that fermentation doesn’t start up right away which could leave you guessing where your bubbles are.
Yeast needs the proper oxygen levels in order to replicate correctly. The way to get this is to aerate your must. There’s a few ways to do this.

Aeration techniques:
- Shake your fermenter rigorously
- Stir your must with a spoon for a good amount of time
- Use a wine degasser attachment for drill
Another factor when preparing the must is getting the correct temperature to have a good fermentation. Different yeast strains will have various temperature tolerances so you want to make sure you’re within that range. Is your fermentation location usually hot or is it in a cold basement? Take in the ambient temperature of the room to decide whether it’s a good place to keep the fermenter while it’s doing its work.
Also, if you boiled your wort when you were first preparing it, you have to make sure it cools to the correct range before you pitch your yeast. Otherwise some of your yeast could die upon impact and your fermentation will be slow to start again.
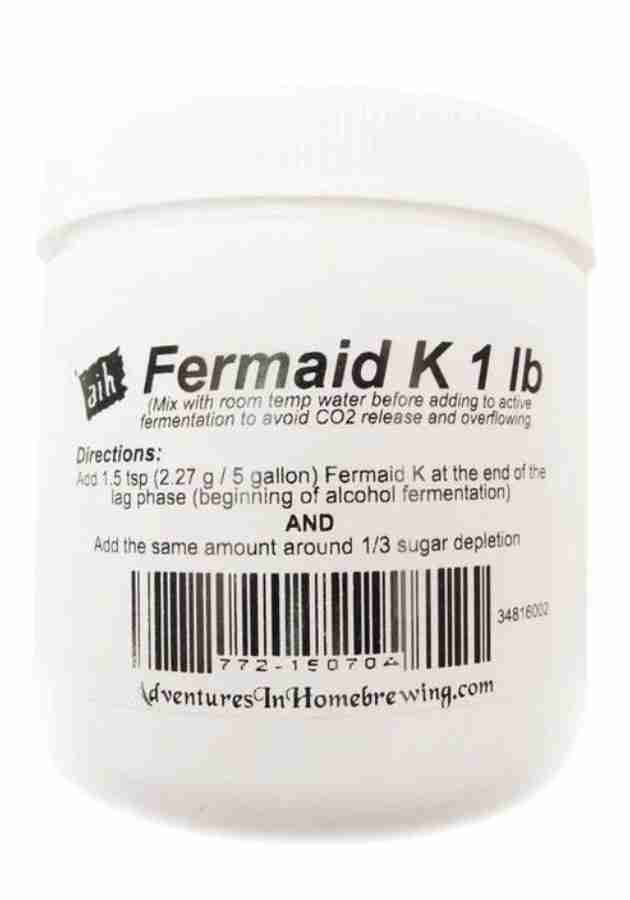
Adding Yeast Nutrients
When you’re making mead, the key ingredient is honey. Honey doesn’t have all the nutrients needed in order to ferment fully right away. This is why a lot of mead makers put yeast nutrients in when they are starting out. They are ensuring that the yeast has the right nutrition to start fermenting without any problems.
Without nutrients in your must, your fermentation could again be slow to start causing you to wonder where your bubbles are. Solve this by putting the correct amount of yeast nutrients in at the beginning and consider doing a staggered nutrient addition to your must.
A staggered nutrient addition is done to ensure that the must isn’t overloaded with nutrients at the beginning and the yeast has enough nutrients as it’s doing its thing throughout the whole primary fermentation.
A typical staggered nutrient addition would look like this:
- Add nutrients 24 hours after yeast pitch
- Add nutrients again 48 hours after yeast pitch
- Add more nutrients 72 hours after yeast pitch
- Finally add more nutrients at the ⅓ sugar break
There’s different protocols that people find are better than others, but this is the gist. The bottom line is to make sure you follow your recipe and look up the best nutrient addition schedule for your mead.
What if Fermentation is Stuck?
Sometimes despite all the preparation we do, it can’t stop a stuck fermentation. Once you rule out everything, you’re still stuck with a fermentation that isn’t done. There’s a few things you could do.
- -Make a new yeast starter and try pitching it in
- -Add a little sugar of some kind to kick start the fermentation again with the new added yeast
- -Finally, try racking into a new vessel off the old yeast, then make a yeast starter and pitch it
When you’re making a new yeast starter you could try and stay with the same yeast, or if that isn’t working, attempt to use a different yeast strain as a last resort.
Conclusion
If your mead isn’t bubbling you have to do a little detective work and find out why. Once you figure out the reason you can act to rectify the situation. The best way to avoid all this is to make sure you follow the guidelines of proper fermentation before pitching the yeast and after.